This post contains affiliate links. If you make a purchase through links on our site, I may earn a small commission. Click to see full details of my Privacy Policy.
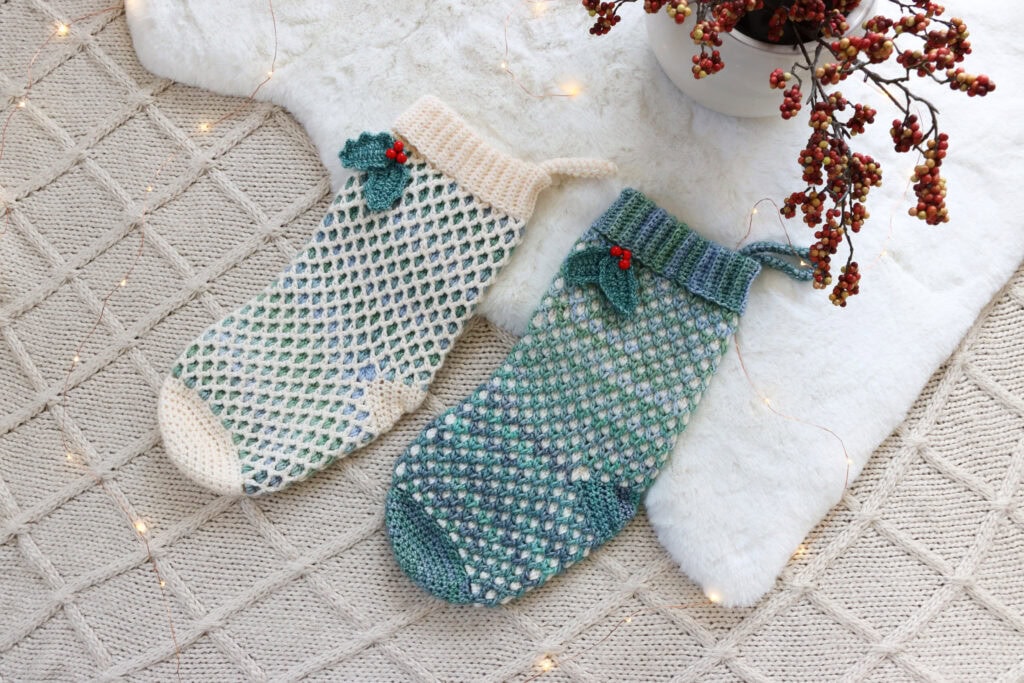
Crochet stockings are a wonderful project to enjoy in the lead-up to Christmas, and you can customise your make with your favourite yarn colours to suit your festive style. Choose classic Christmas shades for a traditional look, or experiment with soft neutrals and modern colours to create a stocking that’s uniquely yours.
In this blog, you’ll find everything you need, including a free step-by-step pattern and video tutorial in both right and left-handed versions to teach you how to make these beautiful festive stockings.
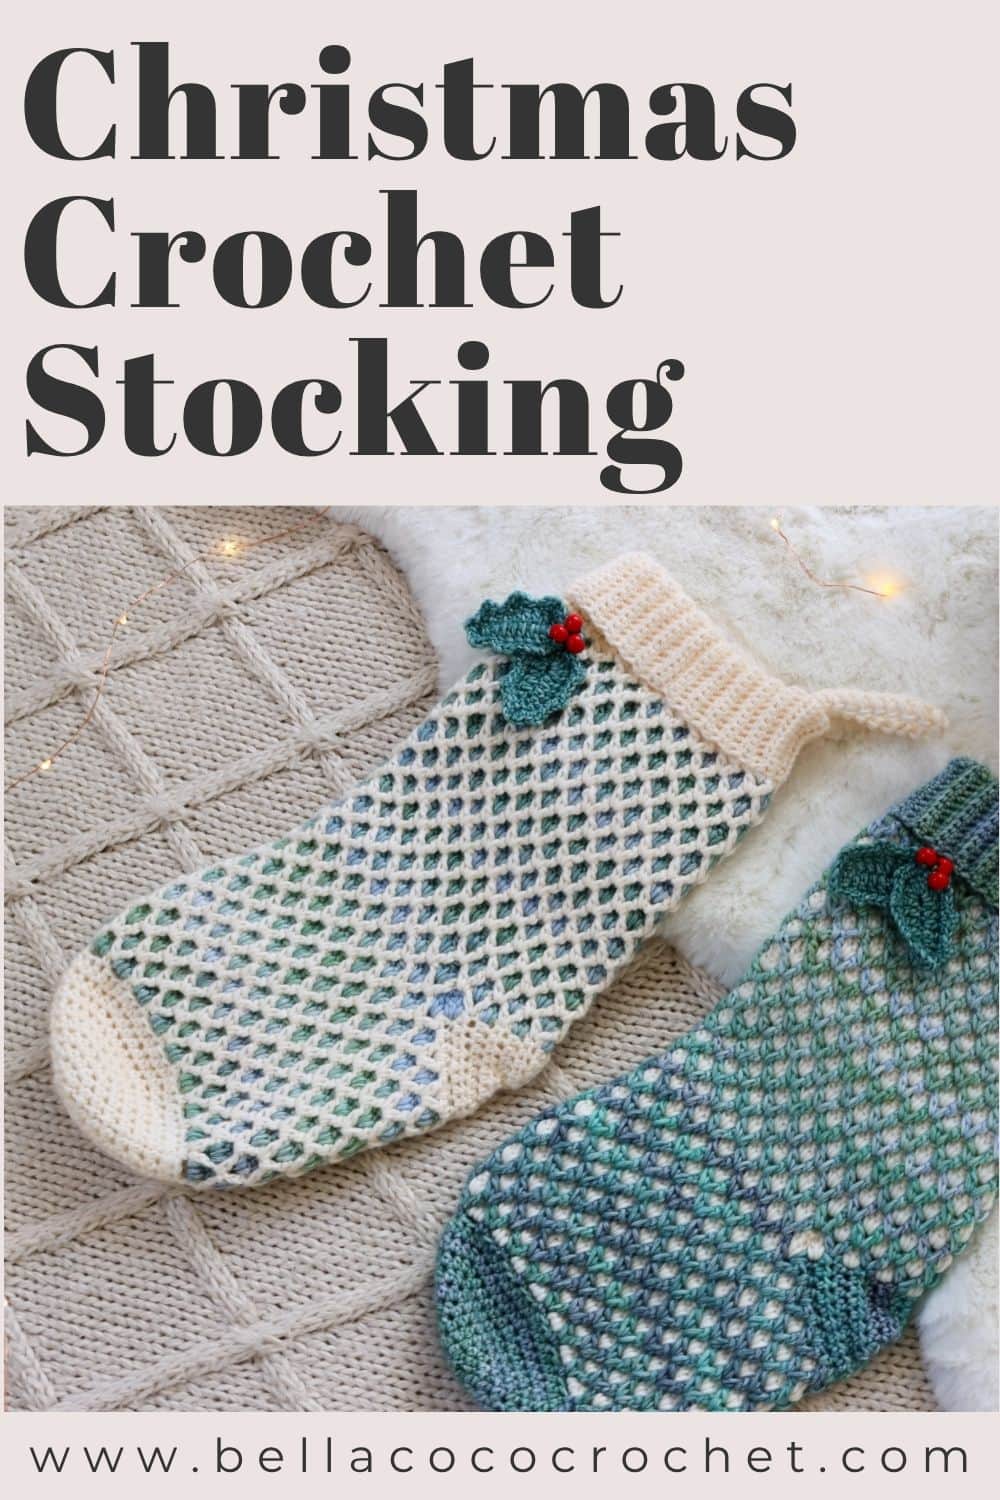
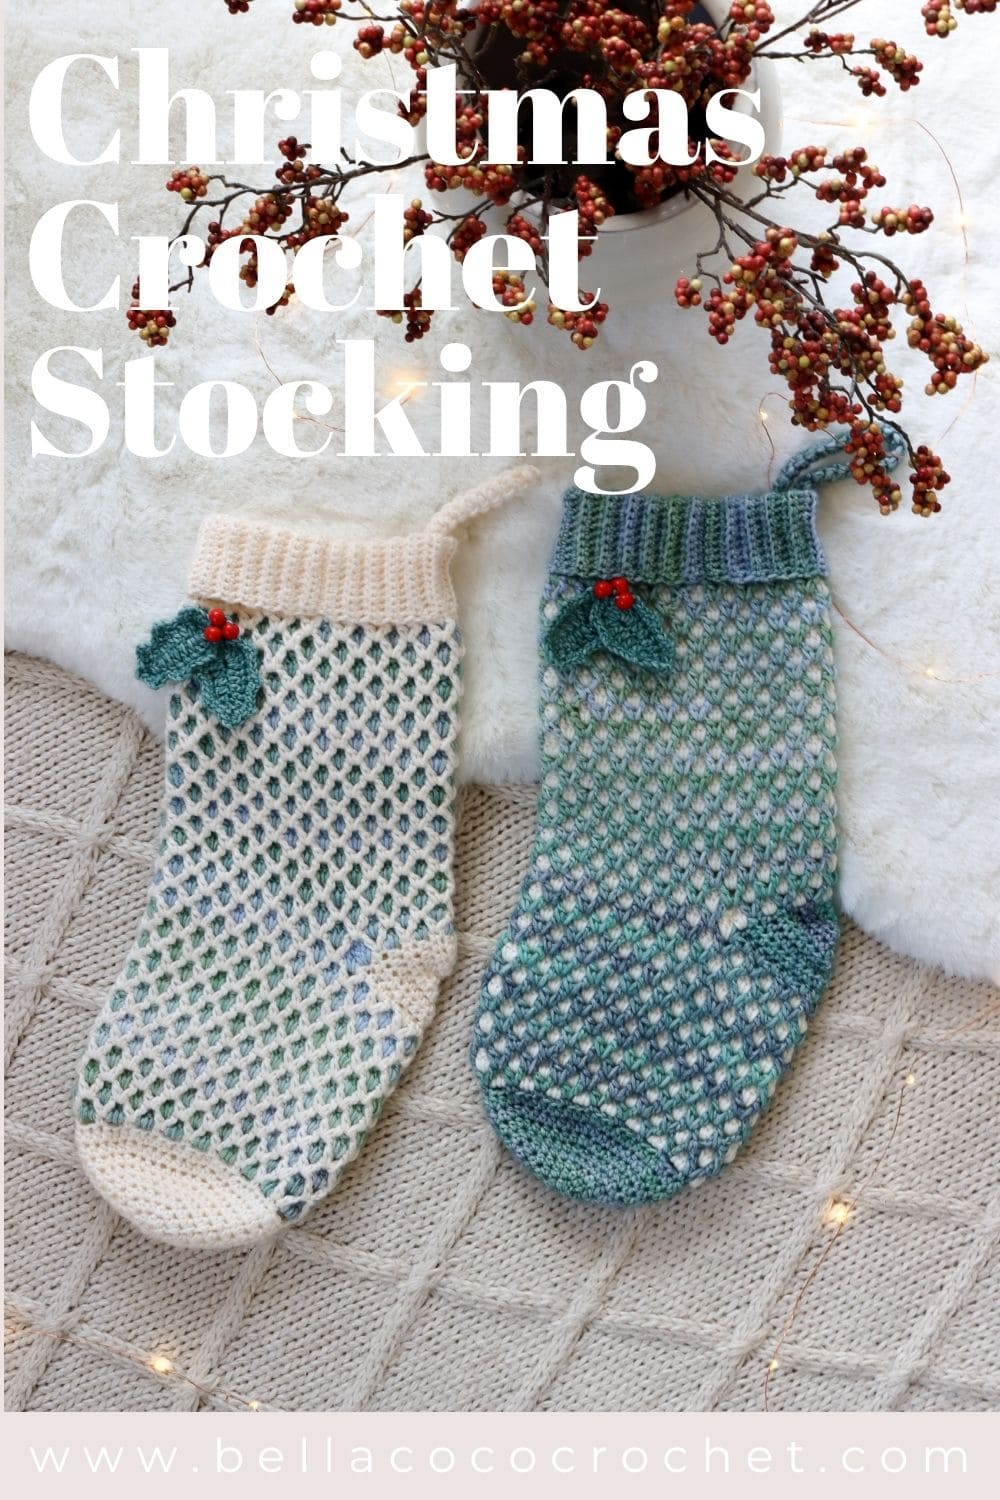
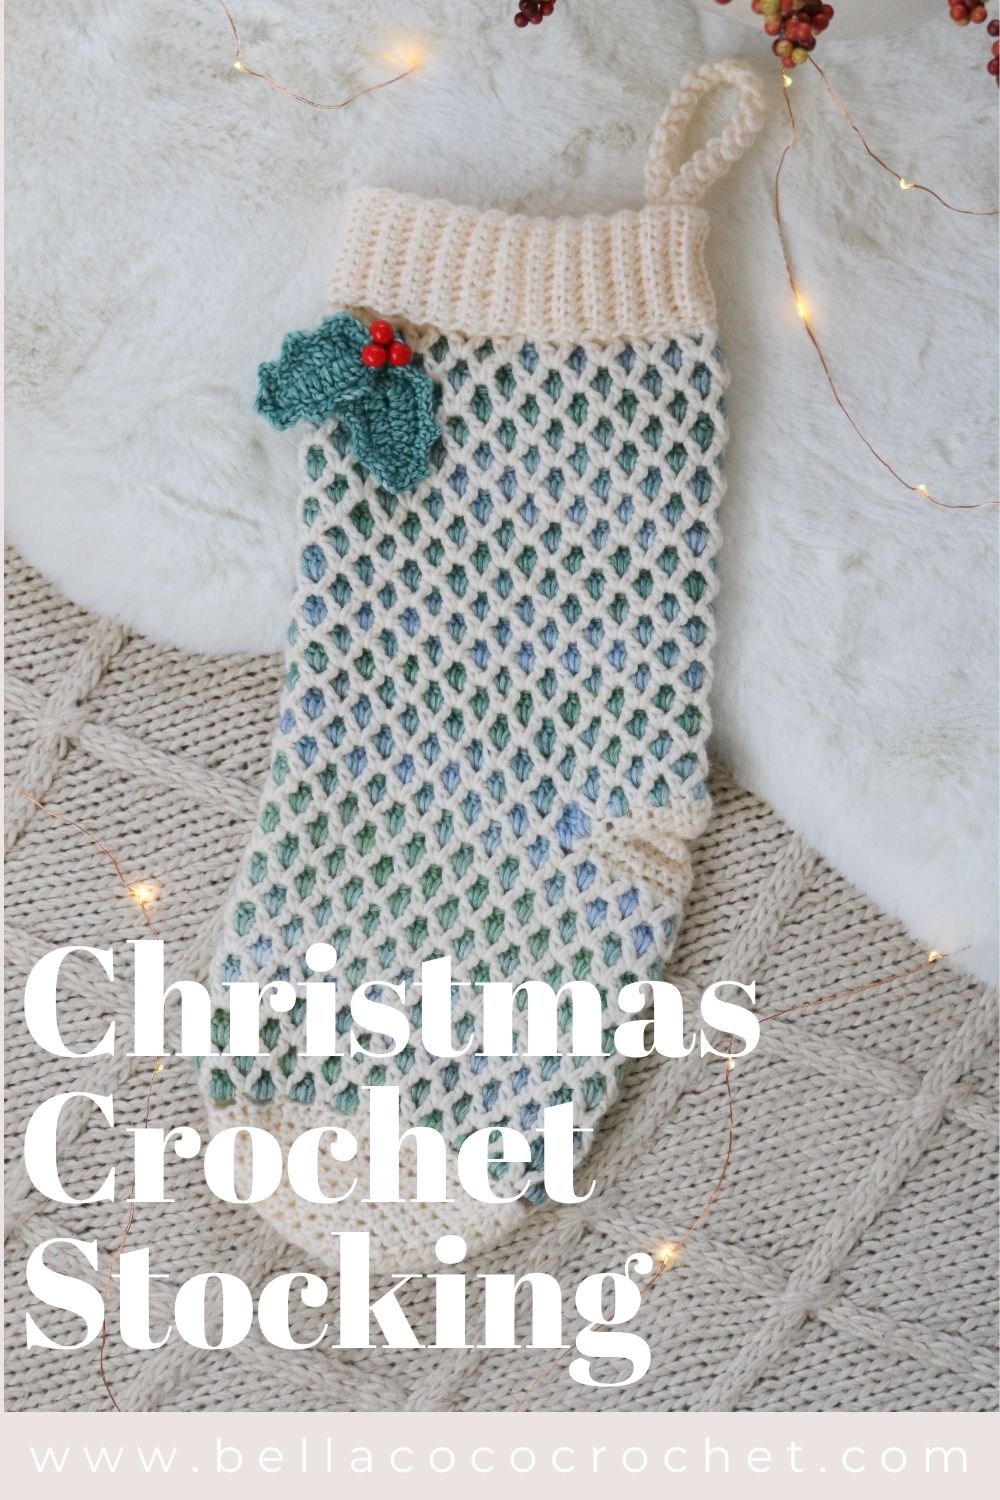
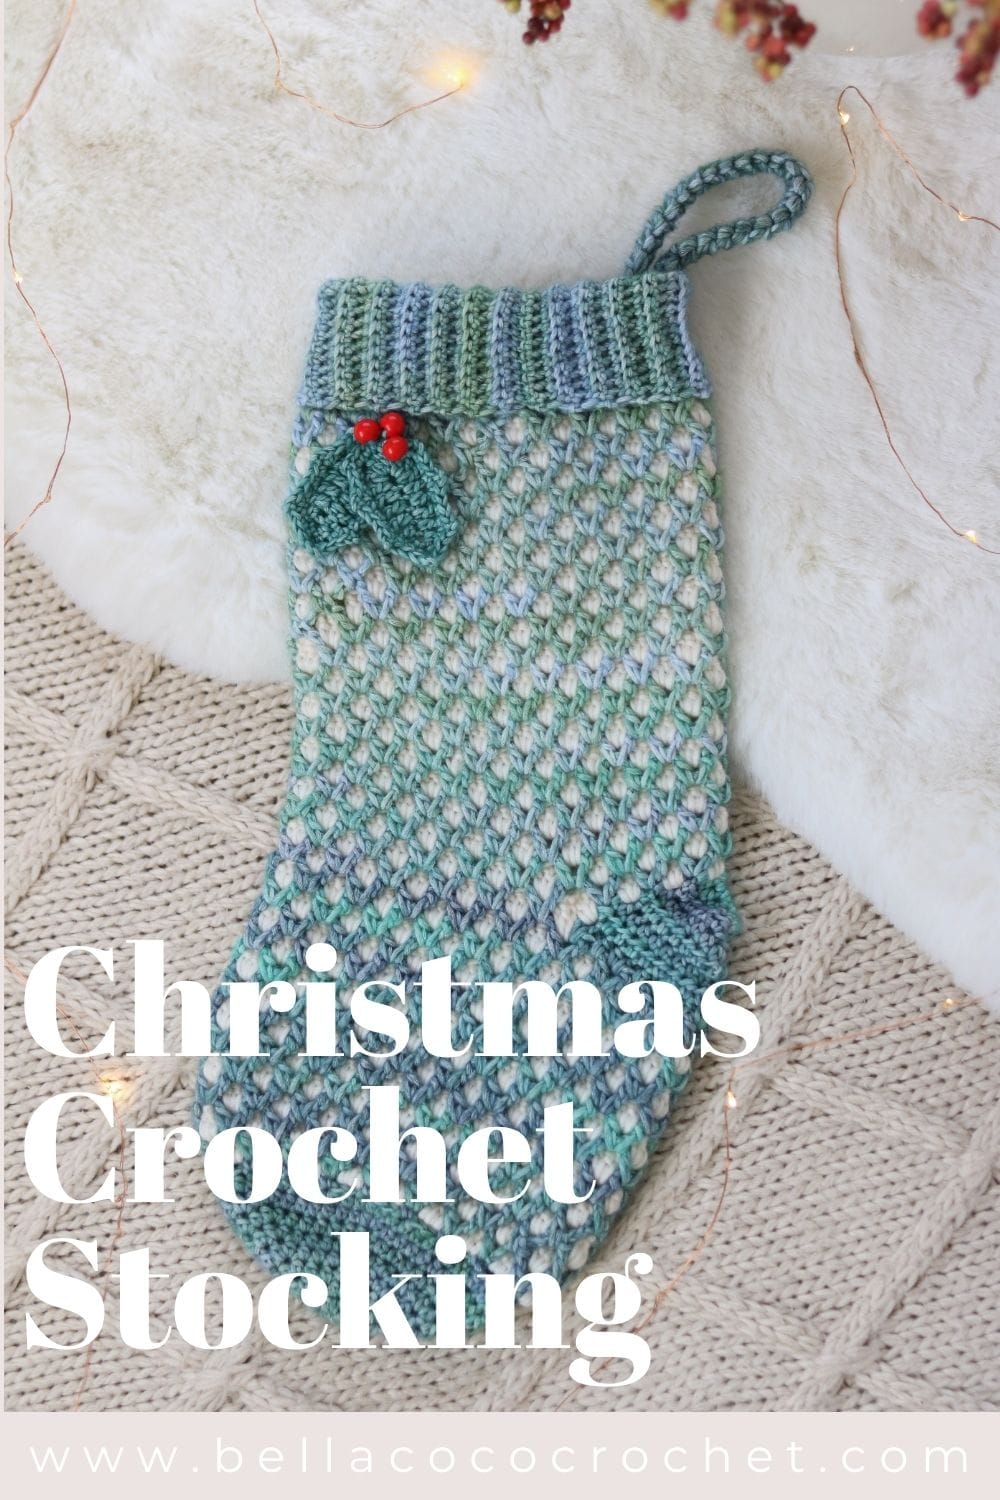
Project Overview
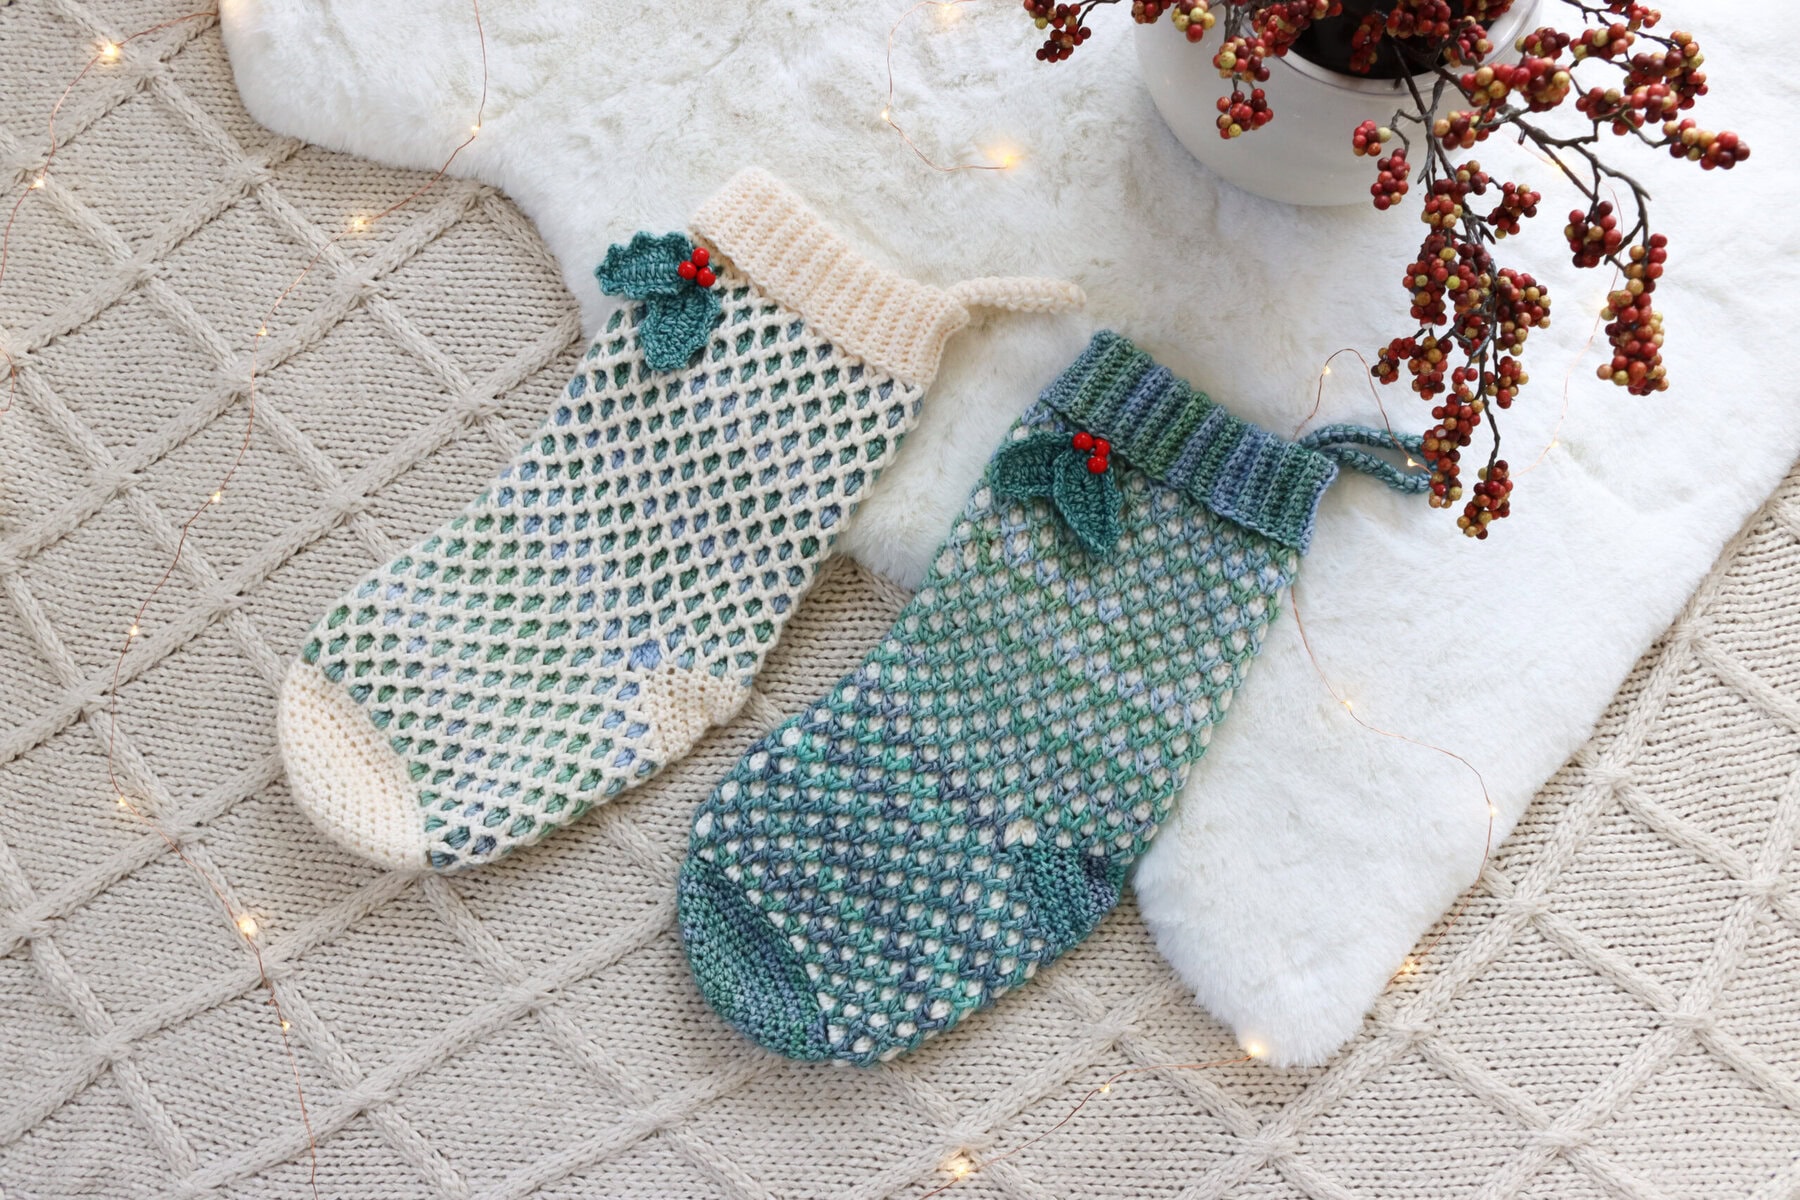
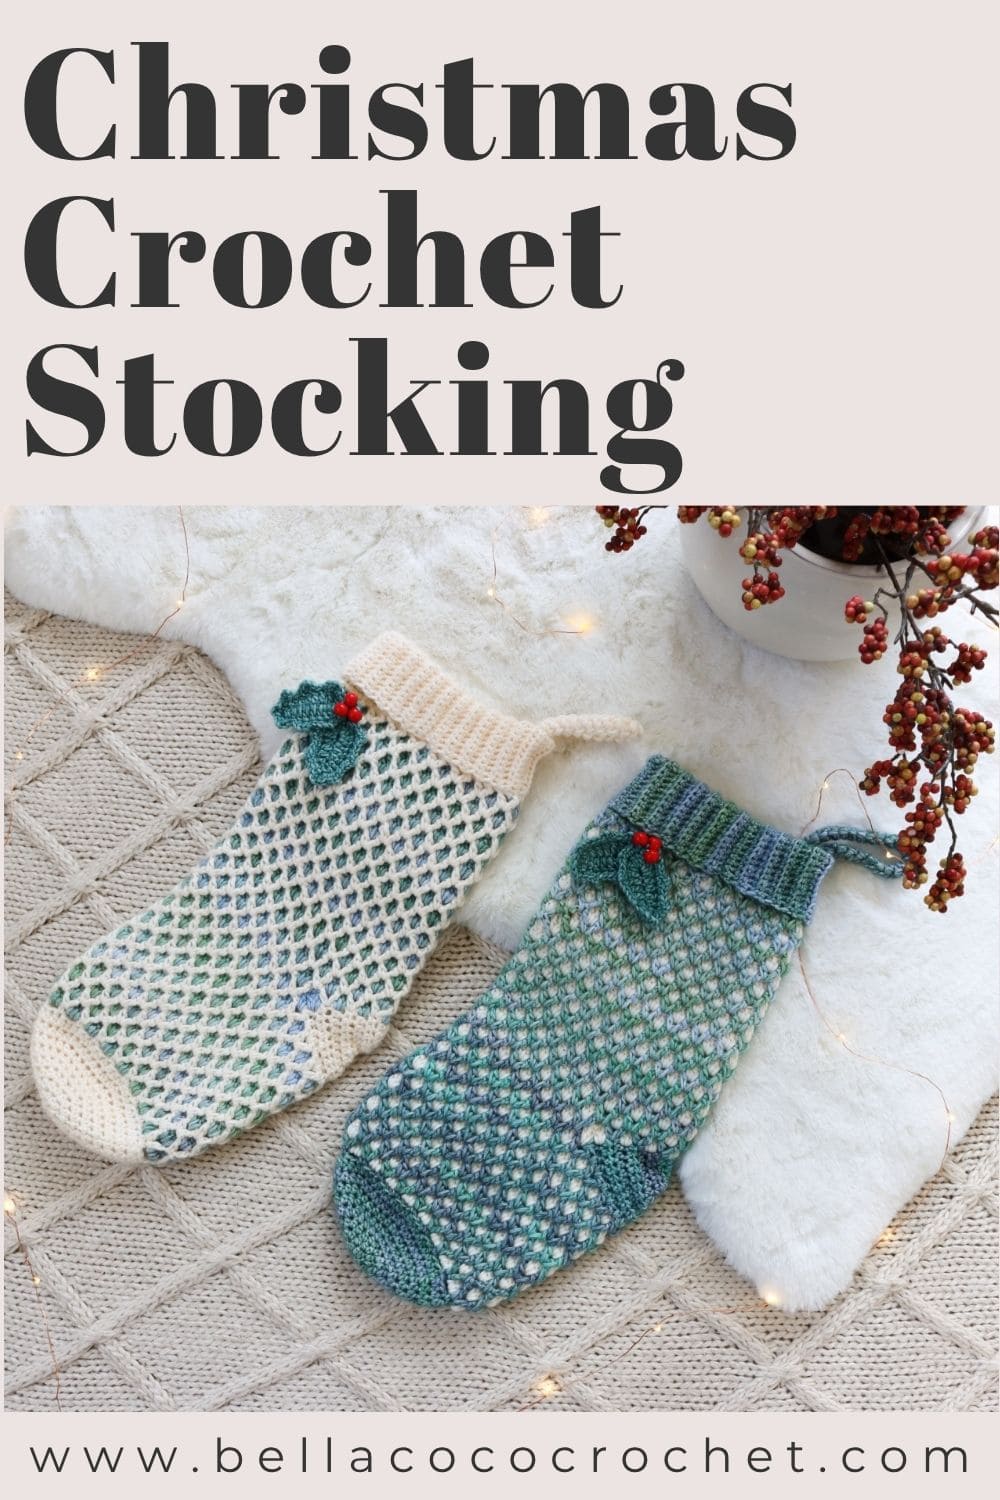
A festive stocking worked toe up in the Moroccan lattice stitch. It looks intricate, but it’s just V-stitches and granny clusters in two colours, finished with a ribbed cuff and a sprig of holly.
This Stocking is part of the Moroccan Holly Collection.
Skill level: Intermediate
Sizes: One Size
Finished Fit: Toe to heel 20.5cm (8in), heel to top of cuff 27cm (10.5in), cuff 5cm (2in) when folded
Yarn Weight: Double Knit (DK), Light Weight (#3)
Yarn: Yarnsmiths Pebble Haze DK and Yarnsmiths Pebble Haze Prints DK
Hook Sizes: 4mm (US G-6), 4.5mm (US 7) and 6mm (US J-10)
Construction: Worked in one piece from the toe up, in the round, in Moroccan lattice stitch. The heel is worked in rows and seamed, and the cuff ribbing is worked sideways and joined as you go.
Video Tutorial: You can find this tutorial in:
Right-handed and
Left-handed versions
Materials & Tools
This post contains affiliate links. If you make a purchase through links on our site, I may earn a small commission.
As an Amazon Associate I earn from qualifying purchases.
- Main Colour (MC): Yarnsmiths Pebble Haze DK (#3), 33% acrylic, 67% cotton, 50g (1.76oz), 145m (159yds)
- Contrast Colour (CC): Yarnsmiths Pebble Haze Prints DK (#3), 33% acrylic, 67% cotton, 150g (5.29oz), 435m (478yds).
- Holly: Yarnsmiths Pebble Haze DK (#3), 33% acrylic, 67% cotton, 50g (1.76oz), 145m (159yds). 1 ball in shade 2C130 Olivine.
Alternative Yarn Suggestions
- SIRDAR STORIES, 60% Cotton, 40% Acrylic, #3 light weight. 140 m/153 yds, 50 g (1.76 oz). Comes in 36 shades. Ships worldwide from UK.
- SCHEEPJES SOFTFUN, 60% Cotton, 40% Acrylic, #3 light weight. 140 m/153 yds, 50 g (1.76 oz). Comes in 83 shades. Ships worldwide from UK.
Where To Shop Yarn
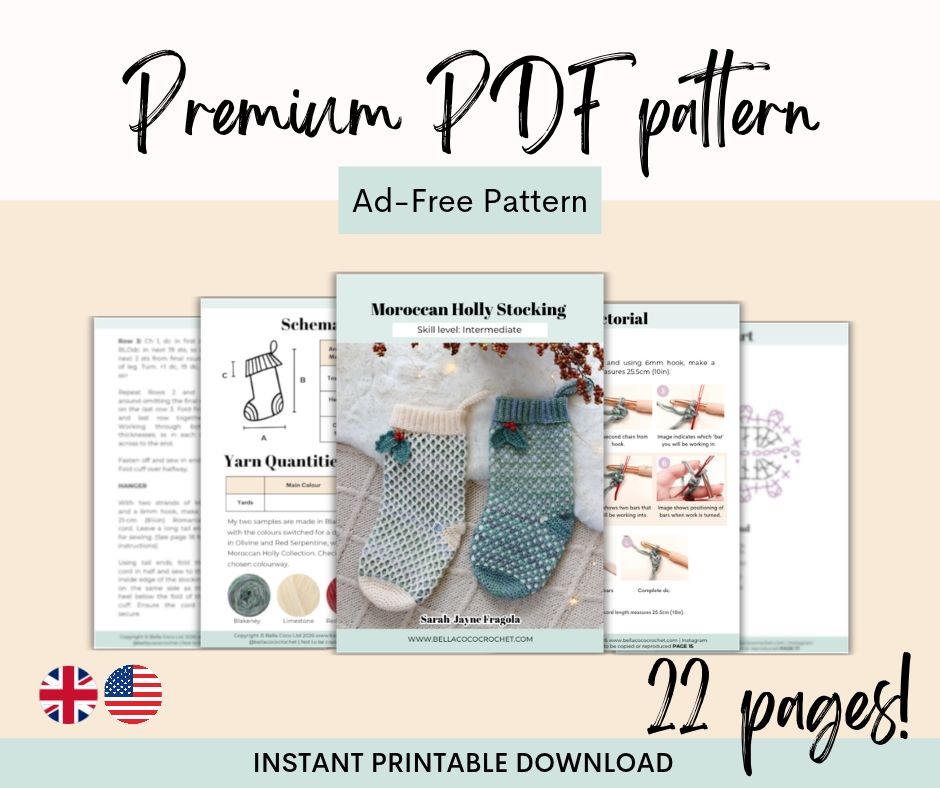
Ad-Free Premium PDF Pattern
Includes 22 pages instant PDF download!
Digital pattern only. No physical item will be shipped.
Terms & Abbreviations
- Written in UK terms but switchable to US terms above.
- Back Loop Only: BLO
- Beginning: beg
- Magic Ring: MR
- Main Colour: MC
- Repeat: rep
- Slip Stitch: ss
- Space(s): sp(s)
- Stitch(es): st(s)
- Treble Crochet(s): tr(s): Yarn over, insert into stitch, yarn over, pull up a loop, you will have three loops on the hook. Yarn over, pull through two loops, yarn over, pull through remaining two loops.
- Contrast Colour: CC
- Chain(s): ch(s)
- Double Crochet(s): dc(s): Insert hook into stitch, yarn over, pull up a loop, you will have two loops on the hook. Yarn over, pull through remaining two loops.
- Half Treble Crochet(s): htr(s): Yarn over, insert into stitch, yarn over, pull up a loop, you will have three loops on the hook. Yarn over, pull through remaining three loops.
Special Stitches
- Cluster space: Cluster sp: The chain 2 space between granny clusters below it.
- Granny Cluster(s): Three tr worked in one space.
- Half Treble Crochet 2 together(s): htr-2tog(s): (Yarn over, insert into next stitch, yarn over, pull up a loop) twice. You will have five loops on the hook. Yarn over, pull through all five loops.
- V-Stitch(s): Vst(s): (Tr, ch 2, tr) in same space.
- Stacked Double Crochet(s): st-dc(s): Insert hook into stitch, yarn over, pull up a loop, you will have two loops on the hook. Yarn over, pull through remaining two loops. Insert hook into the front leg of the stitch which is furthest away from the hook. Yarn over, pull up a loop, you will have two loops on the hook. Yarn over, pull through remaining two loops.
Convert Pattern Terms
Here you can quickly switch between UK and US crochet terms. This will make following the pattern easier as all terms will be converted to your preferred version.
Pattern Notes
- The stocking is worked in one piece from the toe up. The toe and foot are worked in the round, the heel is worked in rows and seamed, and then the leg continues in the round.
- The cuff ribbing is worked sideways and joined to the top of the leg as you go. The hanger and holly are made separately and sewn on at the end.
- Rounds are worked with the right side facing and are not turned. Only the heel and cuff are worked in turned rows.
- Several hooks are used: 4mm for the stocking, 4.5mm for the cuff ribbing, 4mm for the holly and 6mm for the hanger, which is worked with two strands of MC held together.
- Gauge is not critical for a stocking, but working tighter or looser will change the finished size and the amount of yarn you need.
- The two samples use the same colours switched between MC and CC. Check the yardage table for your chosen colourway before buying yarn.
- The Moroccan lattice stitch alternates colours every round: MC rounds are V-stitches and CC rounds are granny clusters. Both colours stay attached throughout, so there is no need to cut your yarn between rounds.
- At the end of each round, pull up a loop, remove your hook and place a stitch marker in the loop to stop it unravelling. Then pick up the waiting loop of the other colour to work the next round.
- Always keep MC to the front of your work and CC to the back when you swap colours. This stops the two yarns twisting around each other.
Stitch Notes
- Ch 1 at the start of a round or row does not count as a stitch.
- The granny clusters are worked through both thicknesses: the ch-2 sp of the V-stitch and the sp between the granny clusters below. This is what locks the lattice together, so take your time with the first few rounds.
- A stacked dc is used at the start of the CC rounds in place of a ch 3, giving a neater, less visible join (see abbreviations).
- Use the round tracker on the pdf to keep your place. The numbers in bold are the V-stitch (MC) rounds.
- Stitch counts are given in angled brackets at the end of each round or row, for example <18 Vsts>.
- Leave long tail ends where indicated, as these are used for seaming the heel and attaching the hanger and holly.
Gauge
Toe measures 7cm (2.75in) approx. after 5 rounds.
5 Vsts and 9.5 Vst rounds per 10cm x 10cm (4in x 4in) measured over main stitch pattern.
Completed Size
Toe to heel: 20.5cm (8in)
Heel to top of cuff: 27cm (10.5in)
Cuff, when folded: 5cm (2in)
Free Pattern: Moroccan Holly Stocking
You are viewing this pattern in UK terms.
Holly
Leaf (make 2)
- With Holly yarn (Olivine) and 4mm hook, ch 10.
- Round 1: Work 3 tr in fourth ch from hook (missed ch counts as a tr), tr in next 3 chs, htr in next ch, dc in next ch, (ss, ch 2, ss) in last ch. Rotate to work down the underside of ch, dc in next ch, htr in next ch, tr in next 3 chs, 3 tr in next ch. Join with ss to first missed ch. Do not turn. <13 tr, 2 htr, 2 dc, 2 ss, 1 ch-2>
- Round 2: Ch 1, dc in first st, [dc in next st, (dc, ch 2, dc) in next st] twice. Dc in next 2 sts, (dc, ch 2, dc) in next st. Dc in next st, skip ss, (dc, ch 2, dc) in ch-2 sp, skip ss. Dc in next st, (dc, ch 2, dc) in next st, dc in next 2 sts, [(dc, ch 2, dc) in next st, dc in next st] twice. Join with ss to first st. Fasten off leaving a 23cm (9in) long tail end for sewing. <25 dc, 7 ch-2 sps>
Finishing Off
- Once you have made two leaves, add your berries to one leaf and then use same tail end to attach the second leaf.
- Use the tail end from the second leaf to attach to your stocking.
- I have placed mine on the opposite side to the hanger and below the cuff ribbing. However, you can have fun playing around with this and find which placement you like the most.
- Once attached, sew in any remaining ends.
Facebook Community
The Crochet Club is a place to come to give or receive help, guidance, support and inspiration for anything crochet/yarn related. Helping you to stay motivated and improve your skills no matter what level you are!
Video Tutorials
Learn how to crochet the Moroccan Holly Stocking with my free step-by-step tutorial.


Loved this pattern? Take a look at these!
Join The Crochet Community
Learn faster, unleash your crochet creativity and make new friends to cheer you on every step of the way!
Let’s Stay Connected!
I always love to see your makes so if you try any of my patterns or follow my stitch tutorials please tag me @bellacococrochet or use the #bellacococrochet