This post contains affiliate links. If you make a purchase through links on our site, I may earn a small commission. Click to see full details of my Privacy Policy.
Learn how to crochet overlay mosaic with my free chart and video tutorial in both right and left-handed versions. Mosaic crochet is easier than it looks and creates an incredible surface pattern! This blog post will help you understand the basics of inset mosaic. If you’ve always wanted to try this technique but felt too intimidated by the patterns, you’re in the right place!


What is Mosaic Crochet
Mosaic crochet is a colourwork technique that uses simple stitches to create beautiful, intricate-looking patterns. Despite its detailed appearance, it’s surprisingly beginner-friendly because you only work with one colour of yarn per row, reducing the need for frequent yarn changes. The magic lies in strategically placed stitches, often UK double or treble stitches, which build up bold geometric designs, stripes, and motifs that look far more complex than they are to make. Mosaic crochet can be worked in different styles, such as overlay or inset, each offering its own unique finish, making it a versatile and rewarding technique for crocheters of all levels.
The Difference Between Overlay & Inset
Overlay

- Stitches worked into the blo only of the current row or the flo only of the stitch 2 rows down
- Pattern work in one row of each colour without turning.
- Yarn tied off at the end of each row which created lots of ends.
Inset

- Stitches worked into full stitch.
- Pattern worked in 2 rows of each colour turning at the end of row.
- The yarn is not tied off, meaning there are fewer ends than overlay the mosaic because you ‘float up the yarn’.
- CLICK HERE for the free chart and tutorial.
FAQs
Is this stitch suitable for beginners?
I always say if you like the look of a stitch, try it. If you’re comfortable with basic stitches like chain, double crochet, or treble crochet, you’ll likely pick it up quickly. I also recommend watching the video tutorial alongside following the written pattern. Lastly, take your time, practice slowly, and don’t worry if it feels tricky at first.
How do I keep count of my stitches?
Using stitch markers can make a huge difference, especially at the beginning and end of rows or rounds. Counting regularly after each row will also help you spot mistakes early before they become harder to fix. If you’re still struggling, add stitch markers after every 5 or 10 stitches.
My edges are uneven! What am I doing wrong?
Uneven edges usually happen when stitches are accidentally added or missed at the ends of rows. Pay close attention to where the first and last stitches go, and count your stitches often to make sure the total stays consistent. Using stitch markers can help with this. CLICK HERE for more help starting and ending rows with confidence.
What should I do if I make a mistake?
Mistakes happen to every crocheter! If you notice an error a few stitches back, gently pull out the stitches to the problem area and try again. In the crochet world, we call this frogging, and it’s all part of the learning process.
Why do my stitches vary in size?
This will be your tension. If you struggle with your tension and find your crochet stitches are inconsistent, or they get tighter or looser, I can help fix this with the golden loop! CLICK HERE to help fix your tension issues.
How long does it take to learn a new crochet stitch?
Some stitches click immediately, while others take a little more practice. Give yourself time to repeat the stitch pattern slowly, and don’t be afraid to pause and replay tutorials. Practice makes progress.
Overlay Front
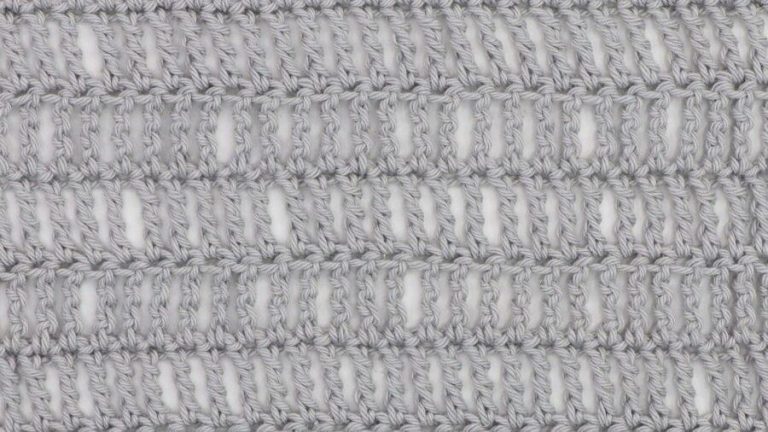
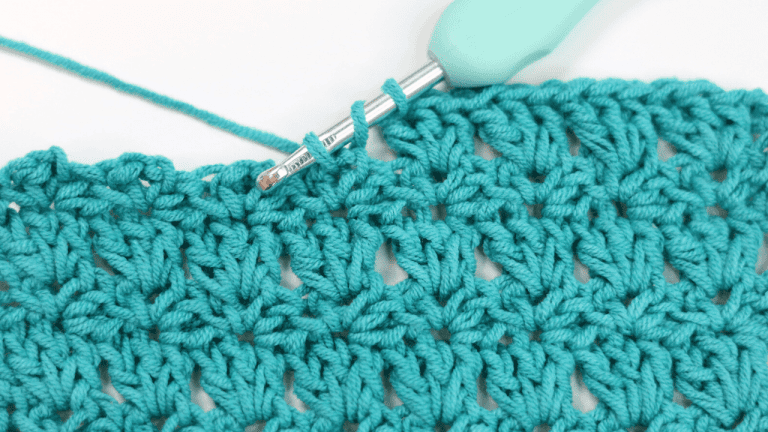
To understand Overlay Mosaic Crochet, you need a basic understanding of what Overlay Crochet is. Simply put: Overlay Crochet uses the FLO (front loops only) or BLO (back loops only) methods to create textured or layered work.

So, Overlay Mosaic Crochet is: A technique that requires you to work in the BLO and then drop down to pick up the front loop of stitches from lower rows.
This creates textured stitches that lay over the stitches from previous rows and can be used to create wonderfully intricate patterns.
The image below shows you what this technique looks like from the back of your work.
Overlay Back

Terms & Abbreviations
Chain(s): ch(s): Yarn over, pull through loop on the hook.
Slip Stitch(s): ss(s): Insert hook, yarn over, pull through stitch and loop on hook.
Double Crochet(s): dc(s): Insert hook into stitch, yarn over, pull up a loop, you will have two loops on the hook. Yarn over, pull through remaining two loops.
Treble Crochet(s): tr(s): Yarn over, insert into stitch, yarn over, pull up a loop, you will have three loops on the hook. Yarn over, pull through two loops, yarn over, pull through remaining two loops.
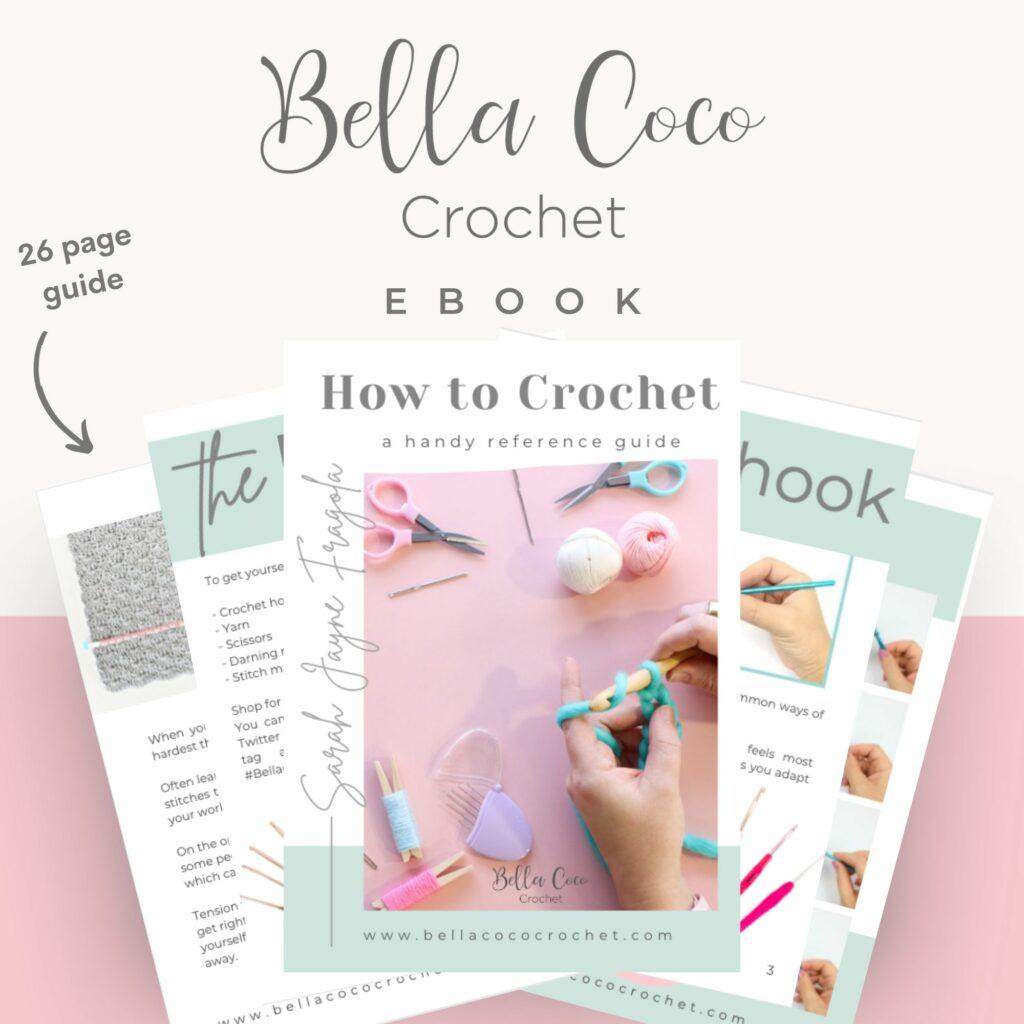
Unsure of the differences between UK and US terms? Need a refresher on how to do your crochet stitches? In my ‘How to crochet: A handy reference guide’ EBook I help you with all of these terms and you can always have them to hand! You will also get exclusive access to free video instructions. You can find my EBook HERE.
Materials & Tools
- Yarn: You can use any weight yarn and corresponding crochet hook. In the videos I have used: MillaMia Naturally Soft Aran in Stone and Ice.
- Hook: 5.5mm or check your chosen yarn band for the recommended hook size.
- Scissors
- Darning Needle
Where to Buy Yarn
Free PDF Chart
Pattern Notes
- Written in UK terms.
- Video tutorial & chart available.
- Pattern worked row by row.
- At the end of each row you will tie off your yarn.
- Each double crochet is worked into the back loop only.
- Every ‘drop-down’ treble is worked into the front loop only of the stitch 2 rows down.

Need Pattern Support? Join Our Facebook Group
The fastest way to get pattern support is to ask in our dedicated facebook group for Bella Coco Crochet patterns. This is the best place for you to connect with other crocheters.
Please note, if you wish to change and adapt this pattern in any way, this must be done at your own exploration and we cannot offer assistance with this.

Video Tutorials
Right-handed
Or you can watch on YouTube
Left-handed
Or you can watch on YouTube
3 Ways to Deal with Your Ends

Don’t let all those ends put you off exploring this stunning technique, because I have three ways of how you can deal with all those ends!
Mosaic Crochet Blanket Patterns


Let’s Stay Connected!
I always love to see your makes so if you try any of my patterns or follow my stitch tutorials please tag me @bellacococrochet or use the #bellacococrochet




The link to the chart PDF no longer works.
The link for the chart is not working.
I clicked on the link for the free PDF but nothing was downloaded. I received a blank pattern in my PDF viewer.
This was such a great demo of the overlay mosaic pattern. I have been wanting to try it.
I have been crocheting now for over a year (was never a knitter or crocheter) but thanks to all your wonderful videos I am now working on the Om Shanti blanket. I have made a lot of dishcloths with different stitches and a waffle stitch blanket. I am looking forward to using the mosaic stitch to get really creative with colors.
Bella coco i am having trouble down loading the pdf chart on my phone
I will try and do it on my tablet i don’t have a computer any more as it blow up about a week ago .
How do you down load the free pattern nothing is working
Hi Lisa you can find everything that you need using this link:- https://blog.bellacococrochet.com/introducing-the-frosty-pines-cal-a-mosaic-crochet-adventure-begins/ 🙂