This post contains affiliate links. Click to see full details of my Privacy Policy.
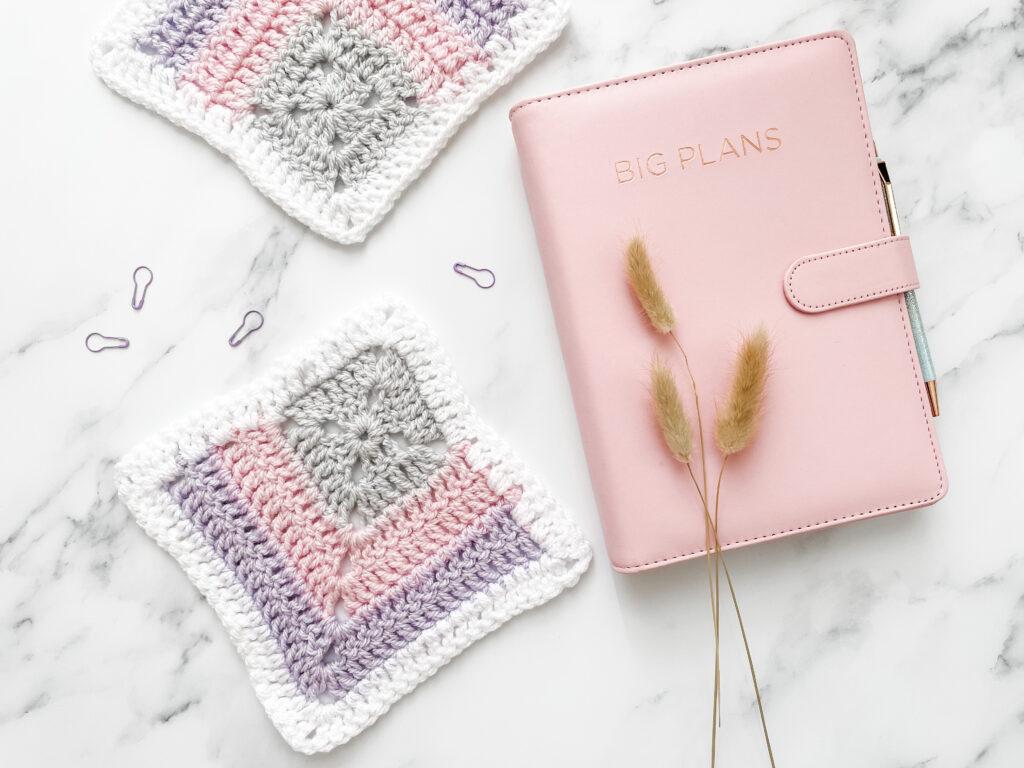
Learn how to crochet the Mitered Granny Square. I personally love this cute granny square. Play with perspectives in pastels or brights with this fun little square and create a beautiful blanket or an adorable cushion.
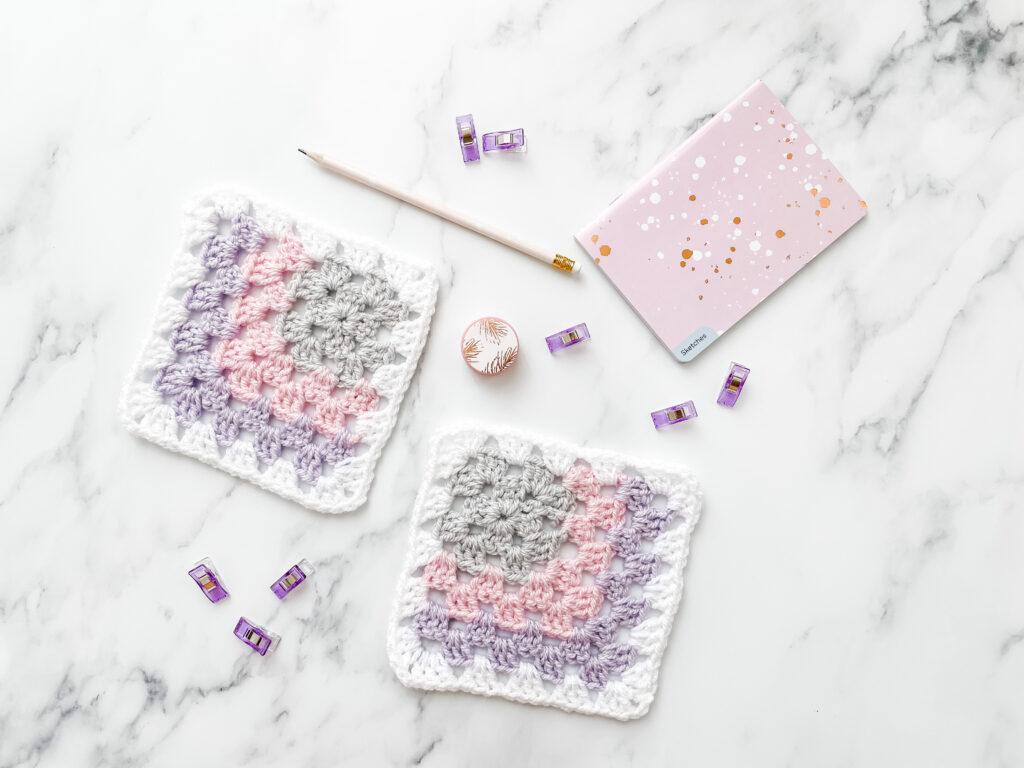
table of contents
what will I learn?
In this blog, you will learn how to crochet a Mitered granny square with my free pattern and video tutorial. I’ll take you through all the materials and tools you will need and which stitches you’ll need to know to achieve this super cute square.

materials and tools
First you’ll need to get your materials and tools together. Here’s what I used in the video tutorial but feel free to switch up the yarn and the hook to get a different look!
- Yarn: Paintbox Simply Aran, I used Paper White (200), Candyfloss Pink (249), Dusty Rose (241) and Misty Grey (203)
- Hook: 4mm or size required for gauge
- Scissors
- Darning Needle
terms and abbreviations
Chain (ch): Yarn over, pull through.
Treble Crochet(s): tr(s): Yarn over, insert into stitch, yarn over, pull up a loop, you will have three loops on the hook. Yarn over, pull through two loops, yarn over, pull through remaining two loops.
Slip stitch (sl-st): Insert hook, yarn over, pull through both stitch and loop on hook.
Stitch(es) (st/s)
pattern notes
This pattern is written in UK terms.
Unsure of the differences between UK and US terms? Need a refresher on how to do your crochet stitches? In my ‘How to crochet: A handy reference guide’ EBook I help you with all of these terms and you can always have them to hand! You will also get exclusive access to free video instructions. You can find my EBook HERE.
pin for later
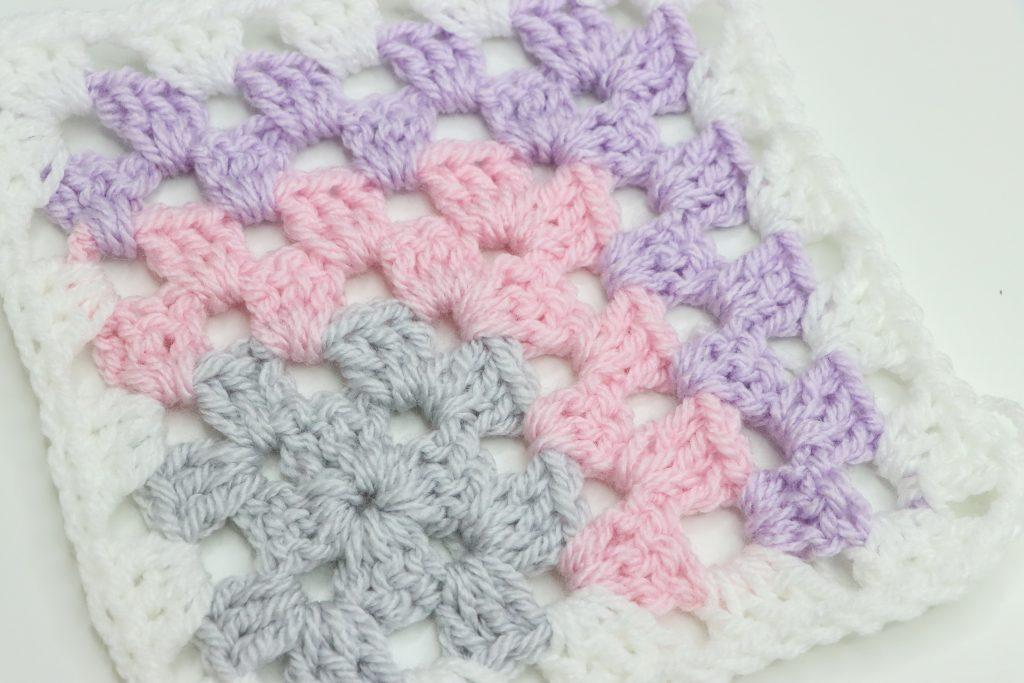
mitered granny square pattern
- Chain 3 and then join with a ss into 1st ch to make a circle. Alternatively, you could use a magic circle.
- Round 1 (RS): Using Colour A. Ch 3 (Counts as tr here and throughout). Working into the centre circle, work 2 tr, ch 2. (3 tr, ch 2) three times. Join to the top of ch-3 with a ss. Turn.
- Round 2 (WS): Ch 3, 2 tr into ch-2 sp, ch1 *(3 tr, ch 2, 3 tr, ch 1) into next ch-2 sp; repeat from * two more times. 3 tr, ch 2 into next ch-2 sp. Join to top of ch-3 with a ss and then tie off.
- Mitre Row 1 (RS): Join Colour B into any corner sp with right side facing. Ch 3, 2 tr into same ch-2 sp. Ch 1, (3 tr, ch 1) into next ch-1 sp. (3 tr, ch 2, 3 tr, ch 1) into ch-2 corner sp. (3 tr, ch 1) in next ch-sp, 3 tr in next corner sp and then turn.
- Mitre Row 2: Ch 4 (counts as tr plus ch 1), (3 tr, ch 1) into each ch-sp to corner. (3 tr, ch 2, 3 tr, ch 1) into ch-2 corner sp. (3 tr, ch 1) into next 2 ch-sps. Tr in top of ch-3 from previous row. Tie off and then turn.

- Mitre Row 3 (RS): Join Colour C into end ch-sp from previous row. Ch 3, 2 tr in same sp, ch 1. (3 tr, ch 1) in each ch-1 sp to ch-2 corner sp. (3 tr, ch 2, 3 tr, ch 1) into ch-2 corner sp. (3 tr, ch 1) in each ch-1 sp to end of mitre row, 3 tr in ch-4 sp. Turn.
- Mitre Row 4: Ch 4 (counts as tr plus ch 1), (3 tr, ch 1) into each ch-1 sp to next ch-2 corner sp. (3 tr, ch 2, 3 tr, ch 1) into ch-2 corner sp. (3 tr, ch 1) into each ch-1 sp to end of mitre row. Tr into top of ch-3 from previous row. Tie off.
- Continue to repeat Mitre rows 3-4 changing colours every 2 rounds if you wish to make your square bigger.
- Border Round: With right side facing. Attach Colour D into any corner space. Ch 3, 2 tr, in same sp. Ch1, *(3 tr, ch 1) into each ch-1 sp to ch-2 corner sp, (3 tr, ch 2, 3 tr, ch 1) into ch-2 corner sp. Repeat from * around working 3 tr in beginning corner sp, ch 2, join in top of ch-3 with a ss. Tie off.
- Sew in ends.

video tutorial
I always love to see your makes so if you try any of my patterns or follow my stitch tutorials please tag me @bellacococrochet or use the #bellacococrochet
sarah-jayne
Looking for some more granny squares to try? We have tons of inspiration below!
Mitered Granny Square
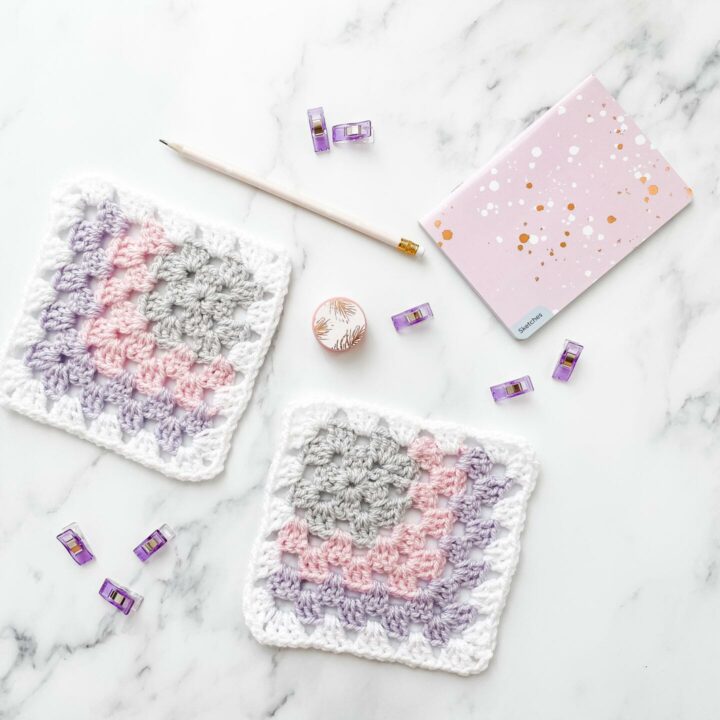
Learn how to crochet the Mitered Granny Square. I personally love this cute granny square. Play with perspectives in pastels or brights with this fun little square and create a beautiful blanket or an adorable cushion.
Materials
- First you’ll need to get your materials and tools together. Here’s what I used in the video tutorial but feel free to switch up the yarn and the hook to get a different look!
- Yarn: Paintbox Simply Aran, I used Paper White (200), Candyfloss Pink (249), Dusty Rose (241) and Misty Grey (203)
Tools
- Hook: 4mm or size required for gauge
- Scissors
- Darning Needle
Instructions
- Chain 3, join with a ss into 1st ch to make a circle. Alternatively, you could use a magic circle.
- Round 1 (RS): Using Colour A. Ch 3 (Counts as tr here and throughout). Working into the centre circle, work 2 tr, ch 2. (3 tr, ch 2) three times. Join to the top of ch-3 with a ss. Turn.
- Round 2 (WS): Ch 3, 2 tr into ch-2 sp, ch1 *(3 tr, ch 2, 3 tr, ch 1) into next ch-2 sp; repeat from * two more times. 3 tr, ch 2 into next ch-2 sp. Join to top of ch-3 with a ss. Tie off.
- Mitre Row 1 (RS): Join Colour B into any corner sp with right side facing. Ch 3, 2 tr into same ch-2 sp. Ch 1, (3 tr, ch 1) into next ch-1 sp. (3 tr, ch 2, 3 tr, ch 1) into ch-2 corner sp. (3 tr, ch 1) in next ch-sp, 3 tr in next corner sp. Turn.
- Mitre Row 2: Ch 4 (counts as tr plus ch 1), (3 tr, ch 1) into each ch-sp to corner. (3 tr, ch 2, 3 tr, ch 1) into ch-2 corner sp. (3 tr, ch 1) into next 2 ch-sps. Tr in top of ch-3 from previous row. Tie off. Turn.
- Mitre Row 3 (RS): Join Colour C into end ch-sp from previous row. Ch 3, 2 tr in same sp, ch 1. (3 tr, ch 1) in each ch-1 sp to ch-2 corner sp. (3 tr, ch 2, 3 tr, ch 1) into ch-2 corner sp. (3 tr, ch 1) in each ch-1 sp to end of mitre row, 3 tr in ch-4 sp. Turn.
- Mitre Row 4: Ch 4 (counts as tr plus ch 1), (3 tr, ch 1) into each ch-1 sp to next ch-2 corner sp. (3 tr, ch 2, 3 tr, ch 1) into ch-2 corner sp. (3 tr, ch 1) into each ch-1 sp to end of mitre row. Tr into top of ch-3 from previous row. Tie off.
- Continue to repeat Mitre rows 3-4 changing colours every 2 rounds if you wish to make your square bigger.
- Border Round: With right side facing. Attach Colour D into any corner space. Ch 3, 2 tr, in same sp. Ch1, *(3 tr, ch 1) into each ch-1 sp to ch-2 corner sp, (3 tr, ch 2, 3 tr, ch 1) into ch-2 corner sp. Repeat from * around working 3 tr in beginning corner sp, ch 2, join in top of ch-3 with a ss. Tie off.
- Sew in ends.
Notes
This pattern is written in UK terms.






10 Comments
AMY
August 11, 2020 at 6:43 pmHOW MANY OF EACH COLOR TO MAKE THE BLANKET?
BellaCocoTeam
August 13, 2020 at 2:00 pmHi Amy this is a very difficult question to answer as it really depends on what yarn you are using, the size of your crochet hook and your tension 🙂
Rebecca R
September 13, 2020 at 1:17 pmI was unable to find where the link is for attaching the ‘Mitered Granny Squares’. Would you please share this link with me. Your tutorials are very easy to follow. Thank you for sharing your patterns with all of us.
BellaCocoTeam
September 15, 2020 at 7:45 amHi Rebecca You are very welcome, here is the link:- https://youtu.be/7e7SIx9olqE 🙂
Carrie
January 17, 2021 at 6:55 pmI still can’t find the video on how to attach these squares. The link above is for making the squares. Thanks for your help.
BellaCocoTeam
January 25, 2021 at 2:21 pmHi Carrie So sorry for the late reply, I have several video on how to join granny squares, if you search on youtube bella coco how to join granny squares you will get a list of my tutorials which you can then have a look through to see which one will suit you best 🙂
Dawn A Ewing
December 30, 2021 at 2:19 amCan you use a cake yarn for this granny square pattern.
BellaCocoTeam
January 6, 2022 at 11:35 amYes absolutely; you will be able to create some really good effects by using a gradient cake for example
Mona
March 30, 2024 at 1:19 amIs it possible to continue the pattern and make it into a continuous granny square? Or does it have to be small squares that need to be joined together? Thank you
BellaCocoTeam
April 10, 2024 at 3:18 pmHi Mona Yes, you can continue adding to the same square until you reach the size you want