This post contains affiliate links. Click to see full details of my Privacy Policy.
Learn how to crochet an autumn pumpkin with my free step by step pattern and video tutorial. This beginner friendly pattern can be easily adapted so you can make them in multiple sizes, simply change your yarn weight and hook size to make these autumn pumpkins bigger or smaller.
These lovely crochet pumpkins look great scattered around your home to embrace the start of autumn, you can also use these pumpkins to make a wreath or why not attach them to a long chain or some twine and create some pumpkin bunting. In this blog you will find everything you need to get hooking up these lovely pumpkins along with an alternative design and lots of autumnal home decor inspiration.
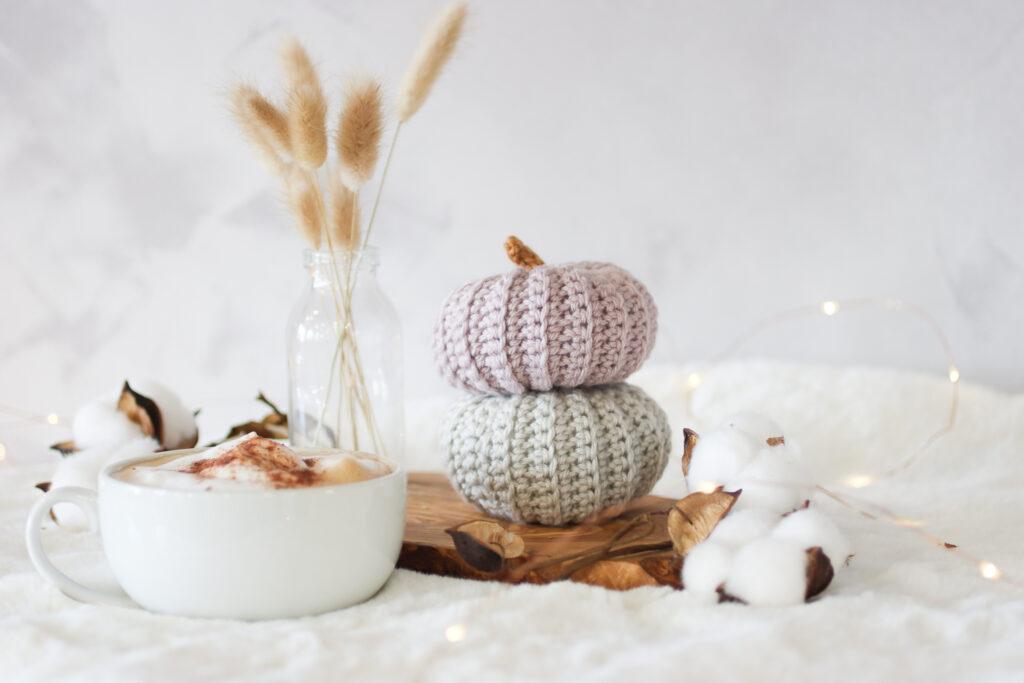
materials and tools
- Yarn: I have used Debbie Bliss Cashmerino however you can use any weight yarn and hook size.
- Hook: 5mm
- Scissors
- Darning Needle
pattern notes
- Written in UK terms
- This pattern gives you the basic principles to make a pumpkin, designed to help you create your own projects.
- Video tutorial can be found at the base of the post.

Autumn Crochet Pumpkin
Want an ad free, printable copy of this pattern? Why not visit my shop and purchase the PDF. Not only does it mean you get your own copy of the pattern to print, you also support a small business and help me to keep making free patterns.
terms and abbreviations
Chain(s): ch(s): Yarn over, pull through loop on the hook.
Double Crochet(s): dc(s): Insert hook into stitch, yarn over, pull up a loop, you will have two loops on the hook. Yarn over, pull through remaining two loops.
Unsure of the differences between UK and US terms? Need a refresher on how to do your stitches? In my ‘How to crochet: A handy reference guide’ EBook I help you with all of these terms and you can always have them to hand! You will also get exclusive access to free video instructions. You can find my EBook HERE.
pin for later

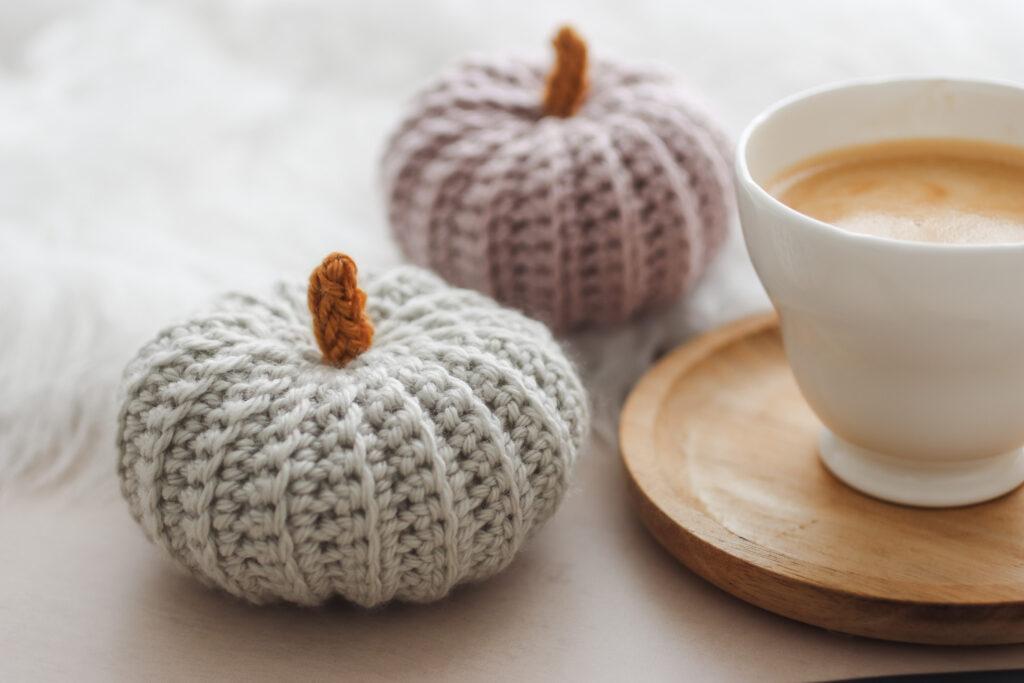
crochet autumn Pumpkin Pattern
*note* leave a long tail end for sewing in later
pumpkin
Foundation: Using main colour, ch17
Row 1: dc in back bump of 2nd ch and each chain along (16 stitches)
Row 2: ch1, turn (this does not class as a stitch here and throughout) dc in back loop of first stitch, dc to end. (16 stitches)
Row 3-34: Repeat Row 2
Tie off leaving a long tail end for sewing.
Using a darning needle, sew the sides together using whip stitch. Sew in ends.
With other tail end, using a darning needle, weave yarn in and out across the rows around the base of the pumpkin. Pull tight to close opening and sew closed leaving tail attached.
Stuff pumpkin and thread it into the pumpkin to bring it to the top. Repeat the process that you did on the base of the pumpkin. Further synch in middle of pumpkin by threading through the yarn from top to bottom if required. Tie off and sew in ends.
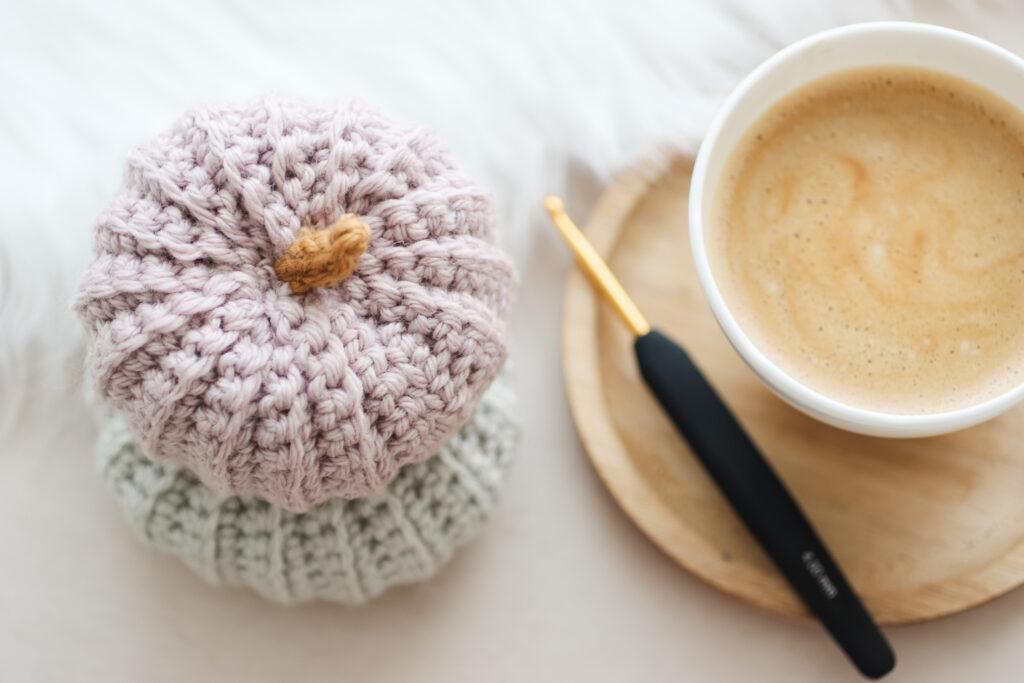
Stem
Using contrasting colour
Ch3
Insert hook in 2nd ch from hook, pull up a loop, insert hook in next ch, pull up a loop (3 loops on hook)
*Drop 2 loops off the hook (1 remaining), yarn over and pull through remaining loop on hook.
Pick up next dropped loop on the hook, yarn over and pull through one loop on hook.
Pick up remaining dropped loop on the hook, yarn over and pull through one loop on hook. Repeat from * 2 more times.
Tie off leaving a long tail for sewing and sew in short tail end.
Attach stem to the top of the pumpkin
adapting the size
If you would like your pumpkin to be bigger, you can add to your foundation chain. The height of your pumpkin will be roughly two thirds of your foundation chain. Work your rows to approximately double the length of the foundation chain.
Additional rows can be added too the stem to make it longer and can be folded over and sewn if needed to make it thicker.
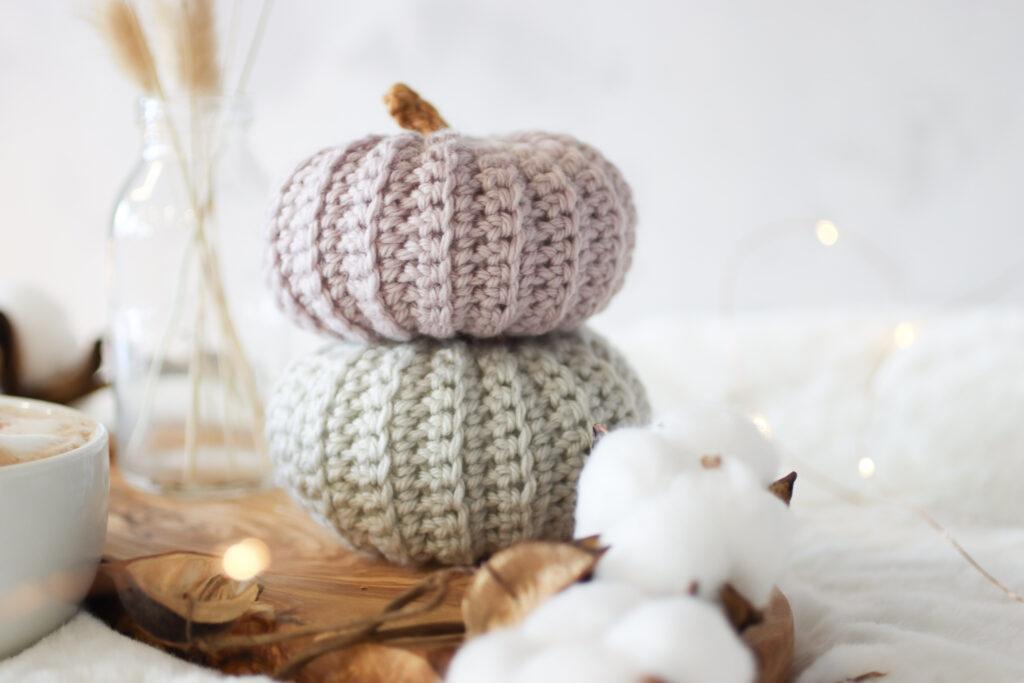
video Tutorials
right handed
left handed
i-cord right handed
i-cord left handed
autumn crochet projects
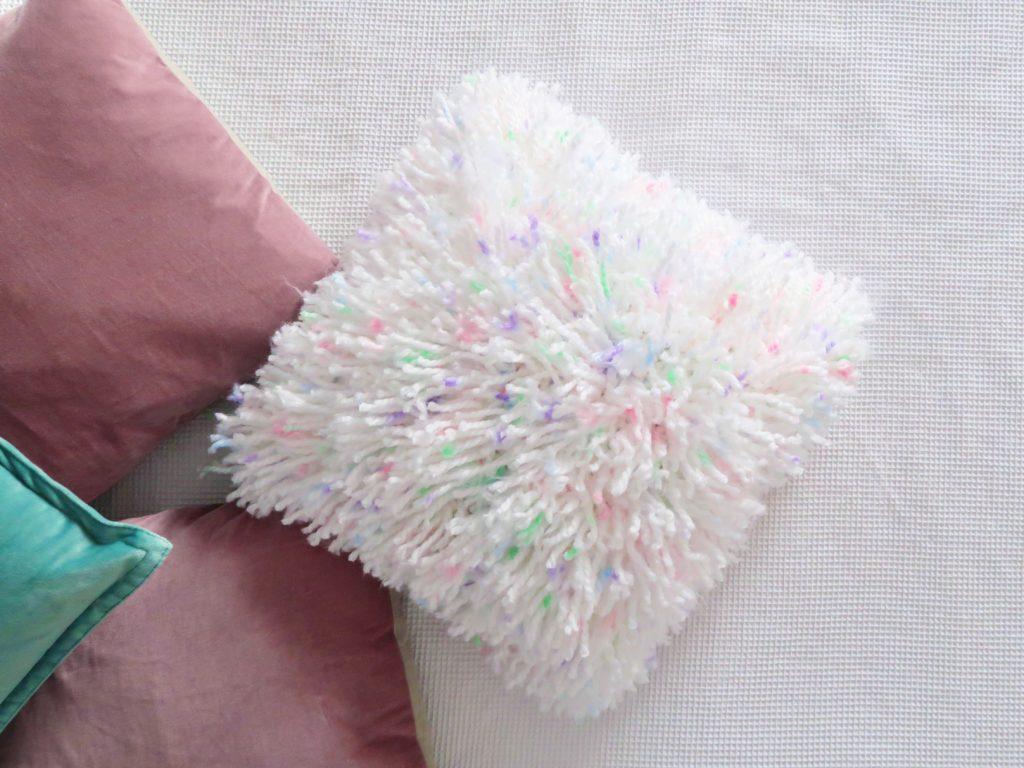
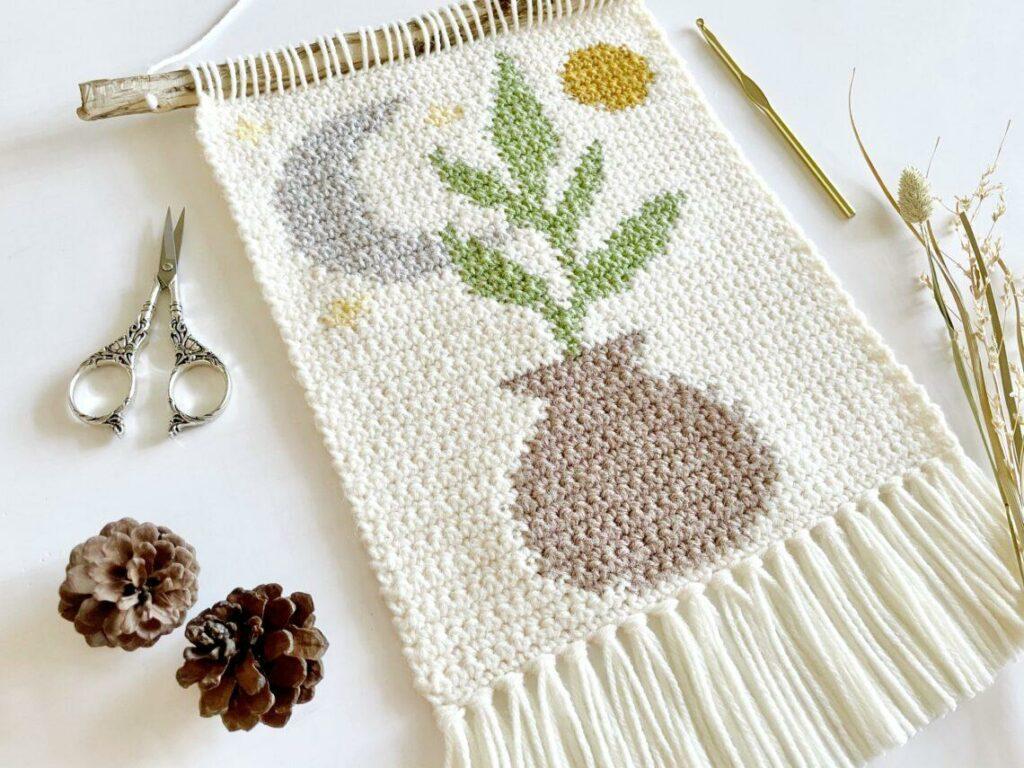
Check out these lovely home decor patterns to get your homes nice and cosy for the cooler seasons from cosy cushions, autumn wreaths and decorative wall hangings. Is there anything more warming than filling your home with yarn decor! Patterns featured below include Autumn Wreath, Fluff Cushion, Crochet Pumpkin, Crochet Leaves, Oh So Boho Wall Hanging. Please make sure you tag and credit these incredible guest designers if you choose to make any of these patterns.



I always love to see your makes so if you try any of my patterns or follow my stitch tutorials please tag me @bellacococrochet or use the #bellacococrochet
sarah-jayne

Learn How to Crochet an Autumn Pumpkin
Learn how to crochet an autumn pumpkin with my free step by step pattern and video tutorial. This beginner friendly pattern can be easily adapted so you can make them in multiple sizes, simply change your yarn weight and hook size to make these autumn pumpkins bigger or smaller.
Materials
- Yarn: I have used Debbie Bliss Cashmerino however you can use any weight yarn and hook size.
Tools
- Hook: 5mm
- Scissors
- Darning Needle
Instructions
- Foundation: Using main colour, ch17
- Row 1: dc in back bump of 2nd ch and each chain along (16 stitches)
- Row 2: ch1, turn (this does not class as a stitch here and throughout) dc in back loop of first stitch, dc to end. (16 stitches)
- Row 3-34: Repeat Row 2
- Tie off leaving a long tail end for sewing.
- Using a darning needle, sew the sort ends together using whip stitch. Sew in ends.
- With other tail end, using a darning needle, weave yarn in and out across the rows around the base of the pumpkin. Pull tight to close opening and sew closed leaving tail attached.
- Stuff pumpkin and thread it into the pumpkin to bring it to the top. Repeat the process that you did on the base of the pumpkin. Further synch in middle of pumpkin by threading through the yarn from top to bottom if required. Tie off and sew in ends.
- stem using contrasting colour
- Ch3
- Insert hook in 2nd ch from hook, pull up a loop, insert hook in next ch, pull up a loop (3 loops on hook)
- *Drop 2 loops off the hook (1 remaining), yarn over and pull through remaining loop on hook.
- Pick up next dropped loop on the hook, yarn over and pull through one loop on hook.
- Pick up remaining dropped loop on the hook, yarn over and pull through one loop on hook. Repeat from * 2 more times.
- Tie off leaving a long tail for sewing and sew in short tail end.
- Attach stem to the top of the pumpkin
- Adapting the size: If you would like your pumpkin to be bigger, you can add to your foundation chain. The height of your pumpkin will be roughly two thirds of your foundation chain. Work your rows to approximately double the length of the foundation chain.
- Additional rows can be added too the stem to make it longer and can be folded over and sewn if needed to make it thicker.




4 Comments
Jolene
October 11, 2019 at 6:04 pmLove this project. Made two of them in different sizes and they immediately bring fall into my livingroom.
Quick to make with some leftover yarn and very clear instructions.
Thank you!
BellaCocoTeam
October 17, 2019 at 10:55 amYou’re very welcome 🙂
Deirdre Magner
September 28, 2022 at 12:31 pmI have made lots of these adorable pumpkins. I’ve tried a few other patterns as well, but always come back to this one. Definitely my favourite!
BellaCocoTeam
September 29, 2022 at 8:48 amThank you Deidre, they are so cute aren’t they 🙂